
May 17, 2022
Today’s design blog is going to have us look at the best way to set up your Photoshop files when you’re creating assets for social.
Before you even think about your designs, we need to start off with setting up our templates for socials, this is *super* easy and will save us all so much time in the future from having to do this step over and over again!
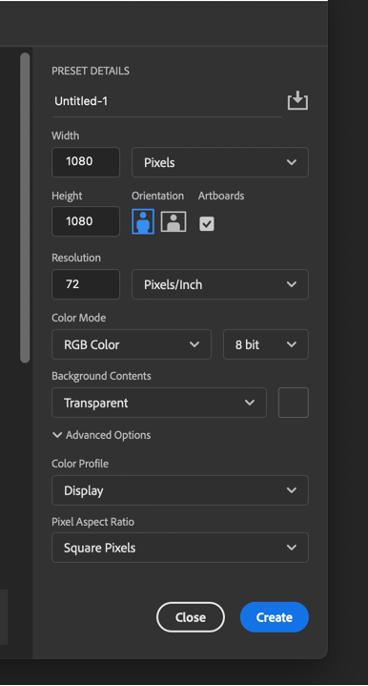
Step 1:
Open up Photoshop and create a new document – doesn’t matter what size but make sure it’s in pixels, dpi set to 72 and that “artboard” is checked.
Step 2:
It’s time to create artboards!
Highlight your artboard layer, then head on over to properties and then change the height to 1200 and width to 630.
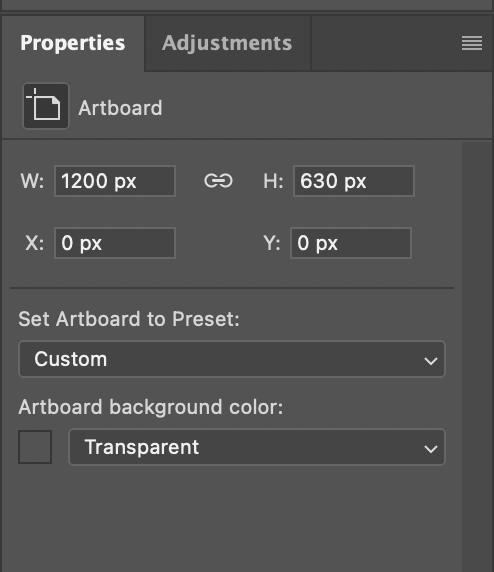
You now have your Facebook size ready!
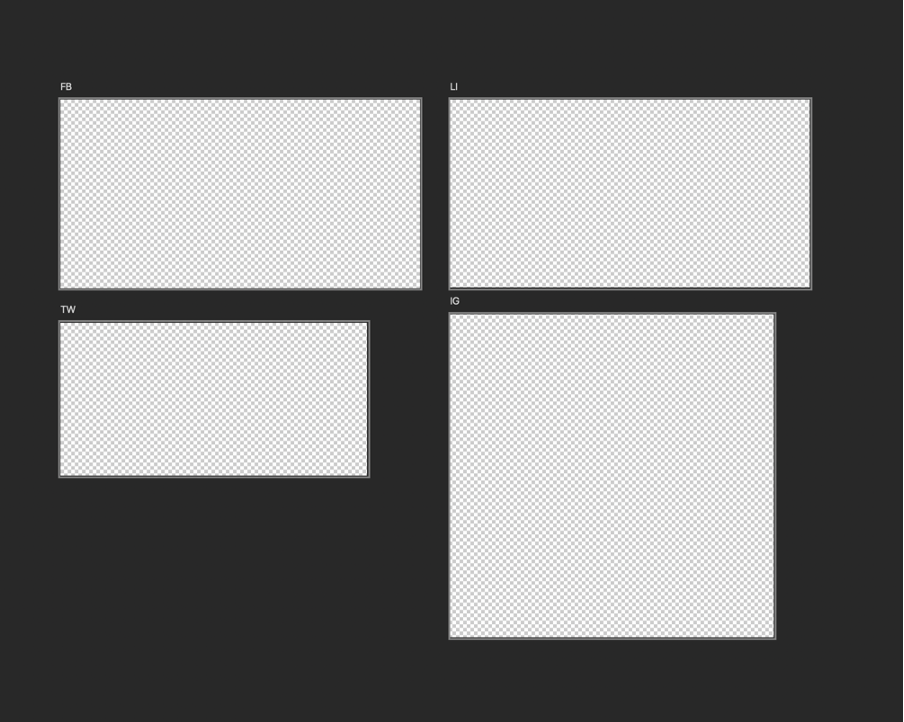
Step 3
Create the rest of your boards! Go ahead and duplicate (cmd+J) your Facebook artboard and change the size to 1200×628 – this is for LinkedIn. Duplicate again and change size to 1024×512. You now have your Twitter board!
And one last time, duplicate and change size to 1080×1080 – you know it… Instagram babyyyyyyy.
Step 4
Now that you have your artboards all laid out and named –
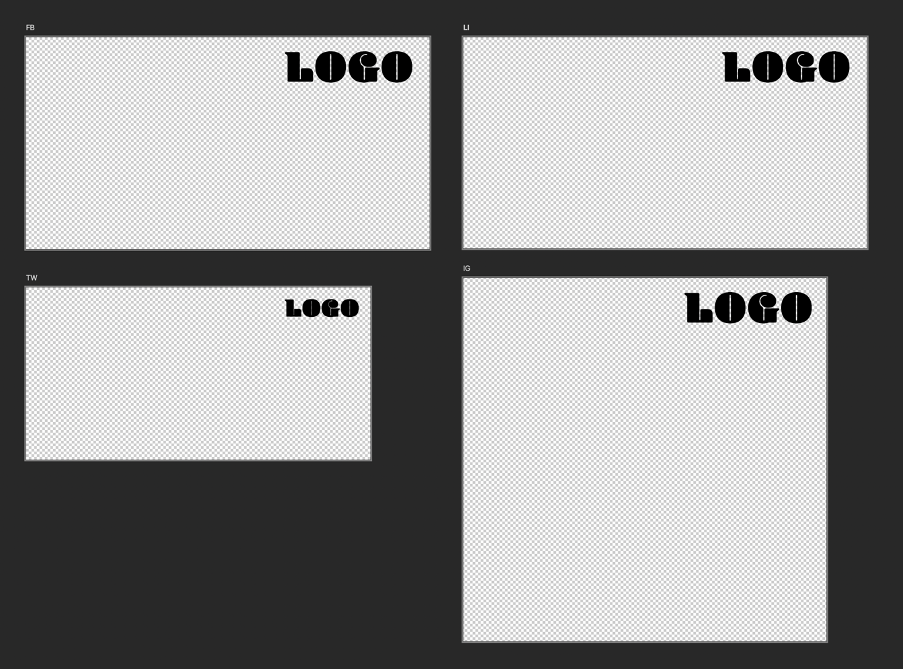
It’s time to place your logo in the correct positions across all boards. Another SUPER easy task (I promise it is).
Go ahead and grab your logo and chuck it over in the corner of your FB board. When you’re happy with how that looks, duplicate (we’ll be doing a lot of this… hold down alt and drag) the logo and add it to your LI layer. Do this with the rest of the boards. You’ll definitely need to adjust the size of the logo for your Twitter and Instagram boards, and when you’re done, you should end up with something like this.
Step 5
Saving out this bad boy as a template! My fav part.
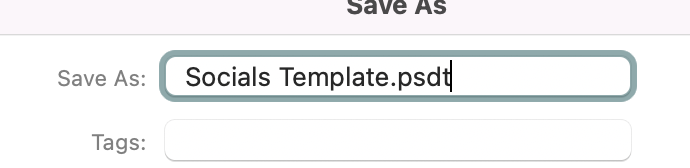
Save your document, but before you do change the extension to .psdt
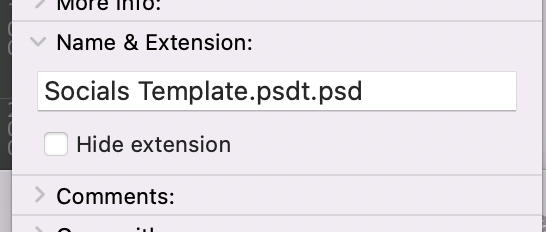
This won’t do anything yet, however… find your saved document, highlight it, right click “get info” ( cmd+I), then scroll over to the “Name & Extension” tab and delete the .psd at the end –
You’ll then be met with this pop up,
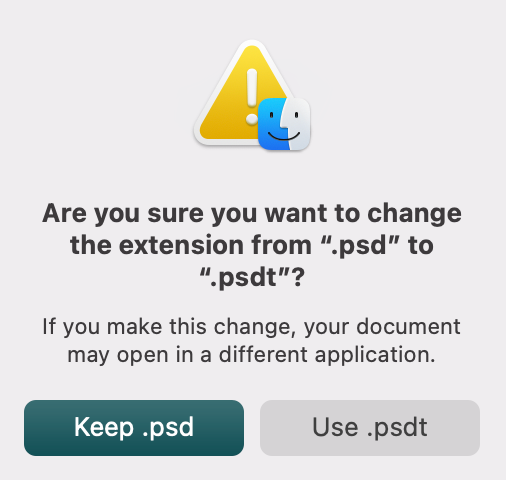
And you’ll want to click on “Use .psdt”
CONGRATULATIONS you’ve just created your very first template!
By doing this, you will now have one template that will open up a new document each time with everything in place for you to design your social assets, this means less time faffing around with creating each asset size individually as well as having your branding in the correct place creating consistency throughout.
Keep them peepers pealed for more social media design tips 😉