February 17, 2015
Today I am going to show you how you can take your pre-made video content on your desktop computer and turn it into a Vine in 4 easy steps. Of course the real first step is producing some really top quality video content, but here’s some I borrowed earlier –
-
-
Create some fantastic video content.*
*Less than 5 megabytes in size between 3 and 6.8 seconds in length.
*Recommended video specifications 480×480 (1:1 Ratio), MPEG-4 H.264, Baseline @ 3.0, 1200 Kpbs maximum bitrate
The following containers are supported: 3GP, 3GP2, AVI, FLV, M1V, M2V, M4V, MKV, MOV, MP4, MPEG, OGG or WMV
-
-
-
Convert that video to MP4 format (cloudconvert.com is a useful tool for this)
-

-
-
Download and install the Vine Client Extension for Chrome
You will need the Google Chrome browser for this part.
-

-
-
Upload your shiny new video directly to Vine straight from your browser.
-
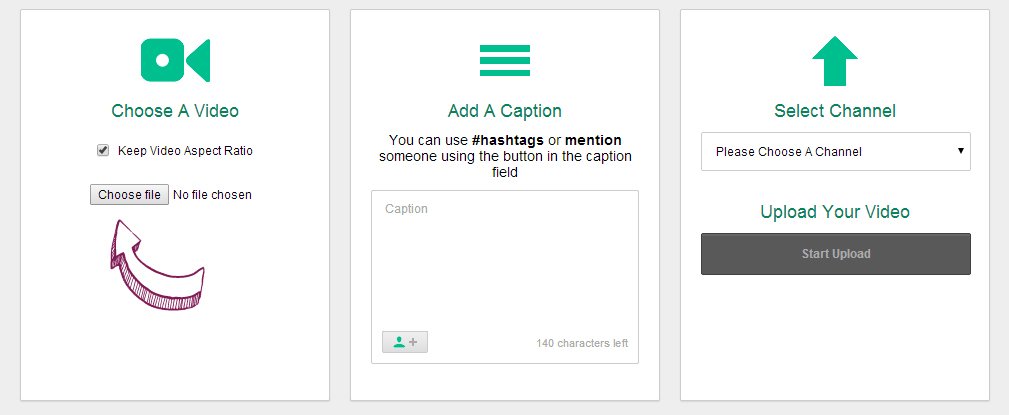
You will now have your video live on Vine!
Hyperlapse from Instagram creates nifty time lapse videos straight in the app.
The iMovie app from Apple is a fantastic little video editing suite in the palm of your hand.
And lastly but definitely not least-ly, Cinemagram creates stunning moving photo images that can be shared directly to Twitter, Facebook and Tumblr as well as in GIF format.
Video Source: TurboKid – EMA Films